What?
Consul is a multi-networking tool that offers a fully-featured service mesh solution. It solves the networking and security challenges of operating microservices and cloud infrastructure in multi-cloud and hybrid cloud environments.
Service mesh
Consul service mesh provides service-to-service connection authorization and encryption using mutual transport layer security (TLS).
- Register mesh services: Define and register services with Consul and associate them with health checks.
- Configure mesh behavior: The exported services configuration entry enables you to export services from a single file.
- Manage mesh traffic: Gateways provide connectivity into, out of, and between Consul service meshes.
- Control ingress traffic: Deploy a Consul API gateway to manage north-south network traffic .
Prerequisites:
- Node.js installed
- npm (Node Package Manager) installed
- Consul installed (for service discovery)
Install Consul
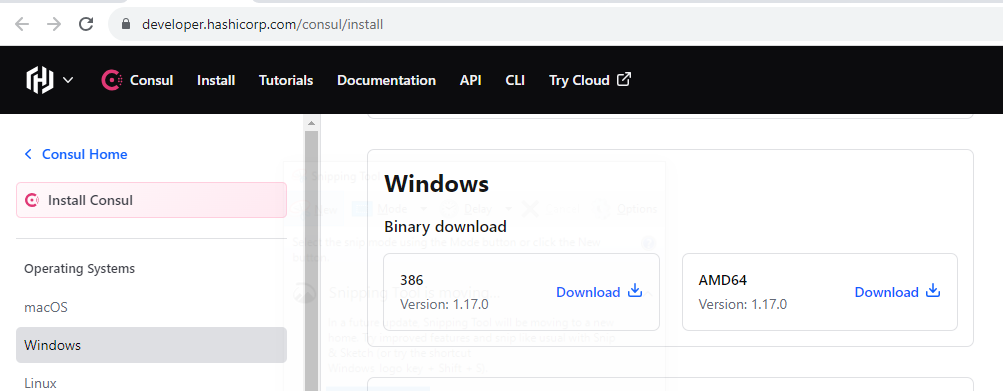
Download and install Consul on each server where you want to run a Consul agent. You can find the latest release on the Consul Downloads page.
# Example for Linux
wget https://releases.hashicorp.com/consul/1.11.0/consul_1.11.0_linux_amd64.zip
unzip consul_1.11.0_linux_amd64.zip
sudo mv consul /usr/local/bin/
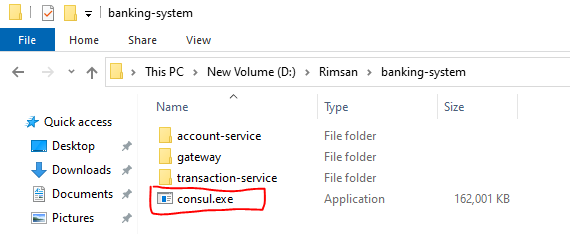
Set up the project structure
Create a folder for your project and initialize it:
    mkdir banking-system
    cd banking-system
    npm init -y
Install required packages
Install the necessary Node.js packages:
npm install express body-parser consul
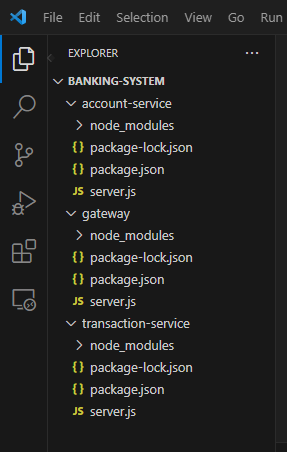
Create Microservices
In a real-world scenario, you would create separate folders for each microservice. For simplicity, I'll create two microservices: account-service and transaction-service.
account-servicemanages user accounts.transaction-servicehandles transactions.
Implement Microservices
Implement the functionality of each microservice in their respective server.js files.
account-service/server.js:
const express = require('express');
const bodyParser = require('body-parser');
const app = express();
const port = 3001;
app.use(bodyParser.json());
app.post('/accounts', (req, res) => {
// Implement account creation logic
res.json({ message: 'Account created successfully' });
});
app.listen(port, () => {
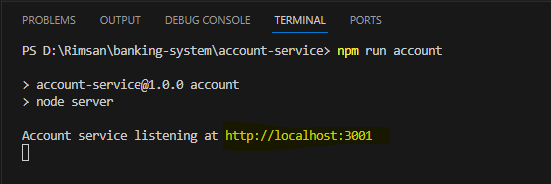
console.log(`Account service listening at http://localhost:${port}`);
});
transaction-service/server.js:
const express = require('express');
const bodyParser = require('body-parser');
const app = express();
const port = 3002;

app.use(bodyParser.json());

app.post('/transactions', (req, res) => {
  // Implement transaction logic
  res.json({ message: 'Transaction completed successfully' });
});

app.listen(port, () => {
  console.log(`Transaction service listening at http://localhost:${port}`);
});
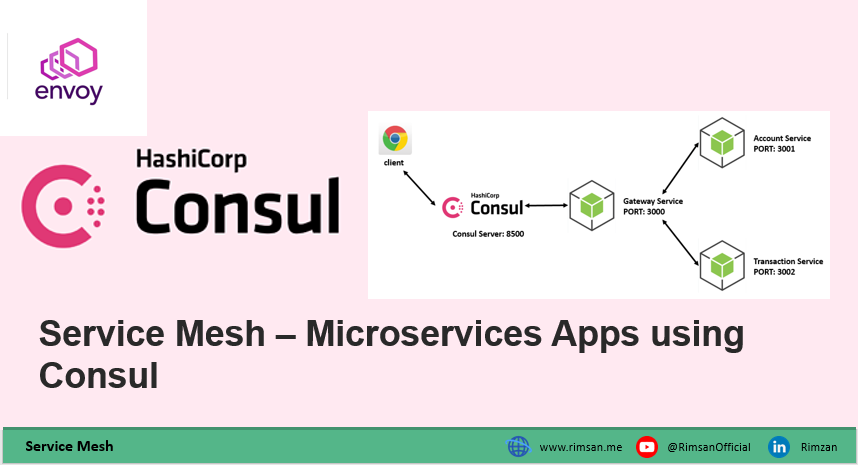
Implement Gateway
Create a simple API gateway to route requests to the appropriate microservice.
gateway/server.js:
const express = require('express');
const bodyParser = require('body-parser');
const Consul = require('consul');
const app = express();
const port = 3000;

const consul = new Consul();

app.use(bodyParser.json());

// Service discovery using Consul
const accountService = consul.agent.service.register({
  name: 'account-service',
  port: 3001,
});

const transactionService = consul.agent.service.register({
  name: 'transaction-service',
  port: 3002,
});

app.post('/accounts', (req, res) => {
  // Route the request to the account service
  // You can implement load balancing here
  res.json({ message: 'Routed to Account Service' });
});

app.post('/transactions', (req, res) => {
  // Route the request to the transaction service
  // You can implement load balancing here
  res.json({ message: 'Routed to Transaction Service' });
});

app.listen(port, () => {
  console.log(`Gateway listening at http://localhost:${port}`);
});

Run the Services
Run each microservice and the gateway in separate terminal windows:
# Terminal 1: Run account-service
cd account-service
node server.js

# Terminal 2: Run transaction-service
cd transaction-service
node server.js

# Terminal 3: Run the gateway
cd gateway
node server.js
Create a Consul Configuration File ~ next topic
Create a Consul configuration file (consul.json) on each server. Adjust the configuration according to your production requirements. Below is a basic example:
{
  "datacenter": "dc1",
  "data_dir": "/opt/consul",
  "encrypt": "generate a strong encryption key",
  "server": true,
  "bootstrap_expect": 3, // Adjust the number based on your cluster size
  "ui": true,
  "log_level": "INFO",
  "enable_syslog": true,
  "bind_addr": "server_IP_address"
}
Replace generate a strong encryption key with an actual encryption key. You can use consul keygen to generate one.
Replace server_IP_address with the IP address of the server.
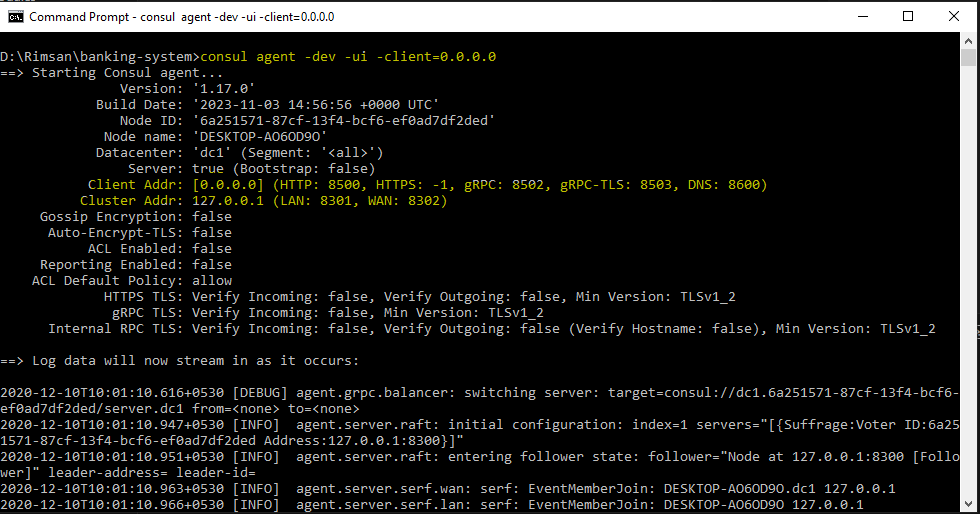
Start Consul Agents
consul agent -config-file=consul.json
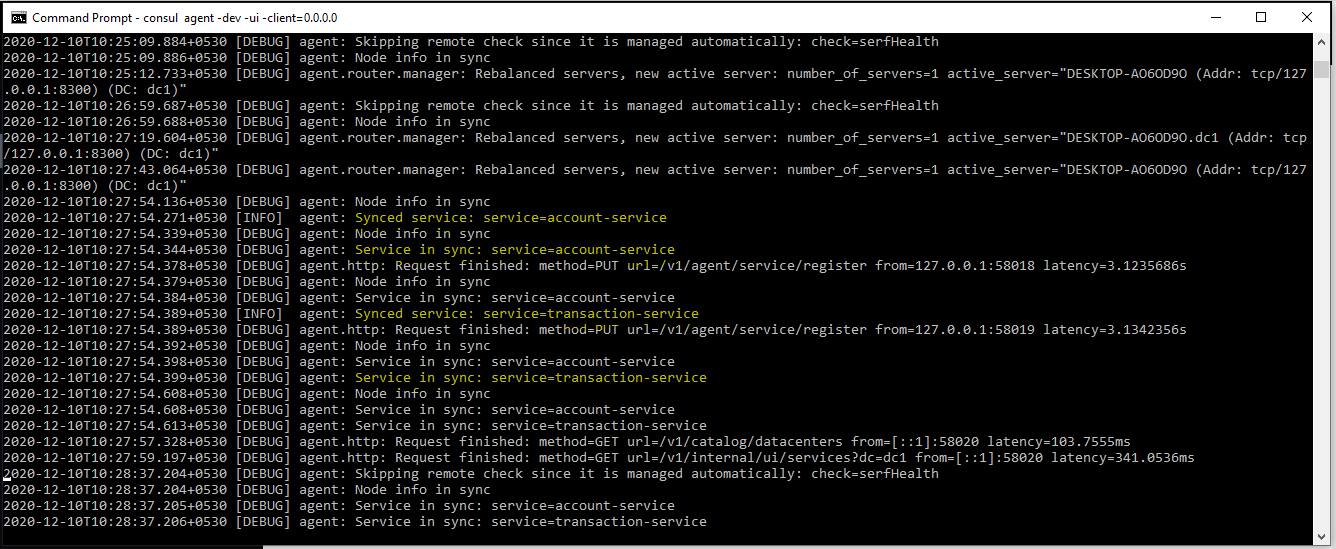
Verify Consul Cluster Status
After starting Consul agents on all servers, check the cluster status:
consul members
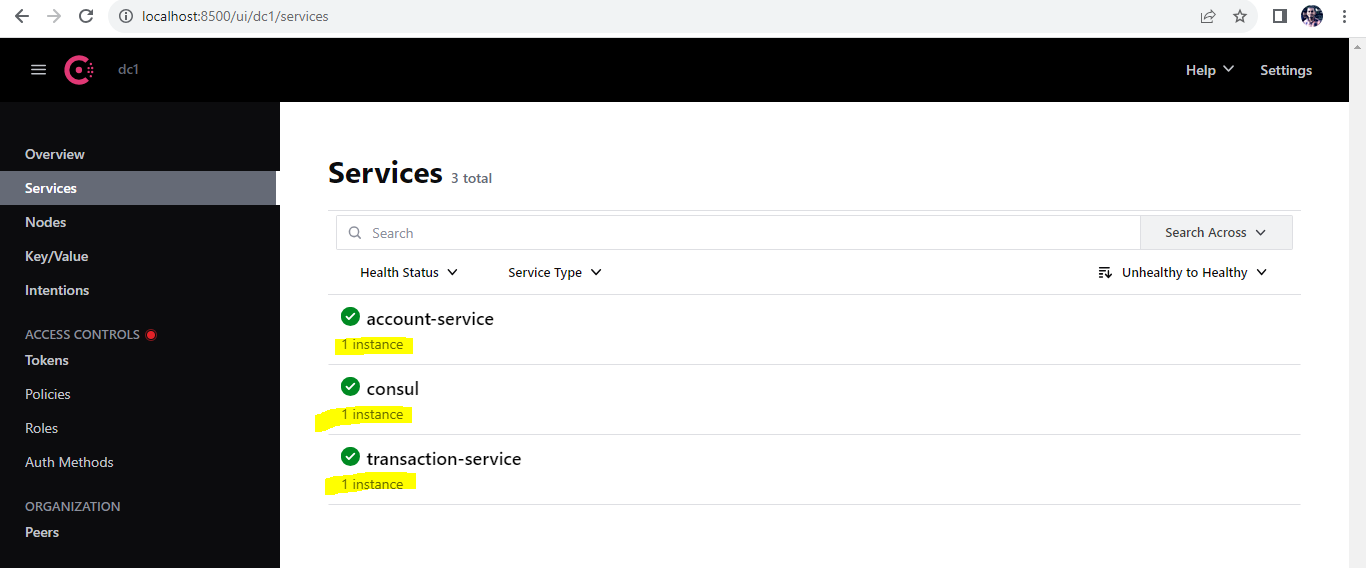
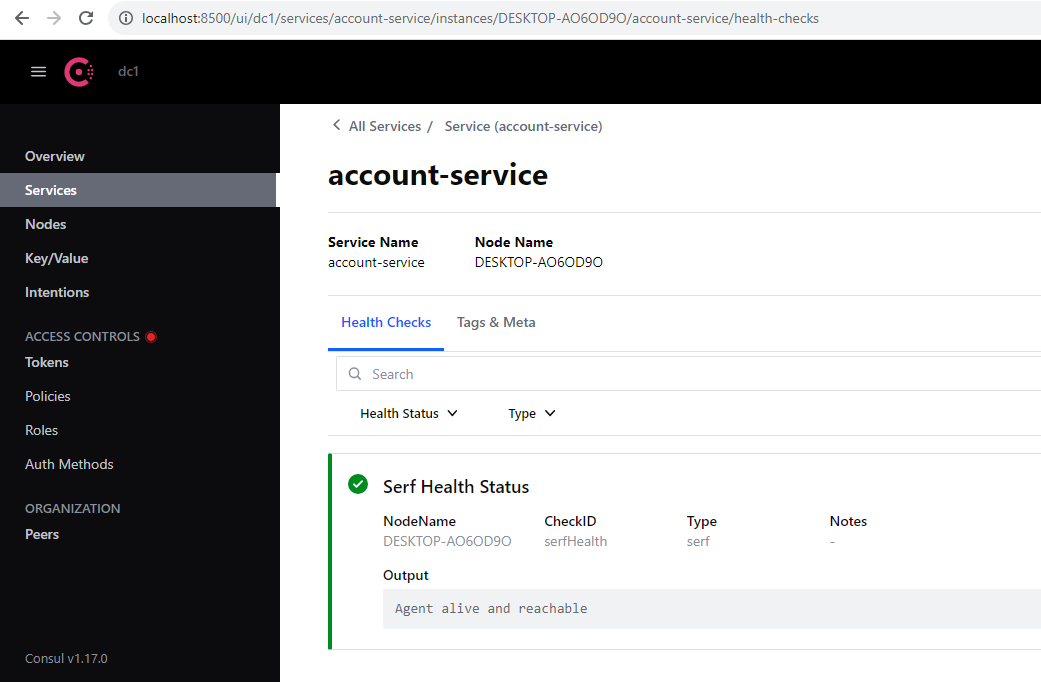
After starting the consul server, you can check on browser port: 8500
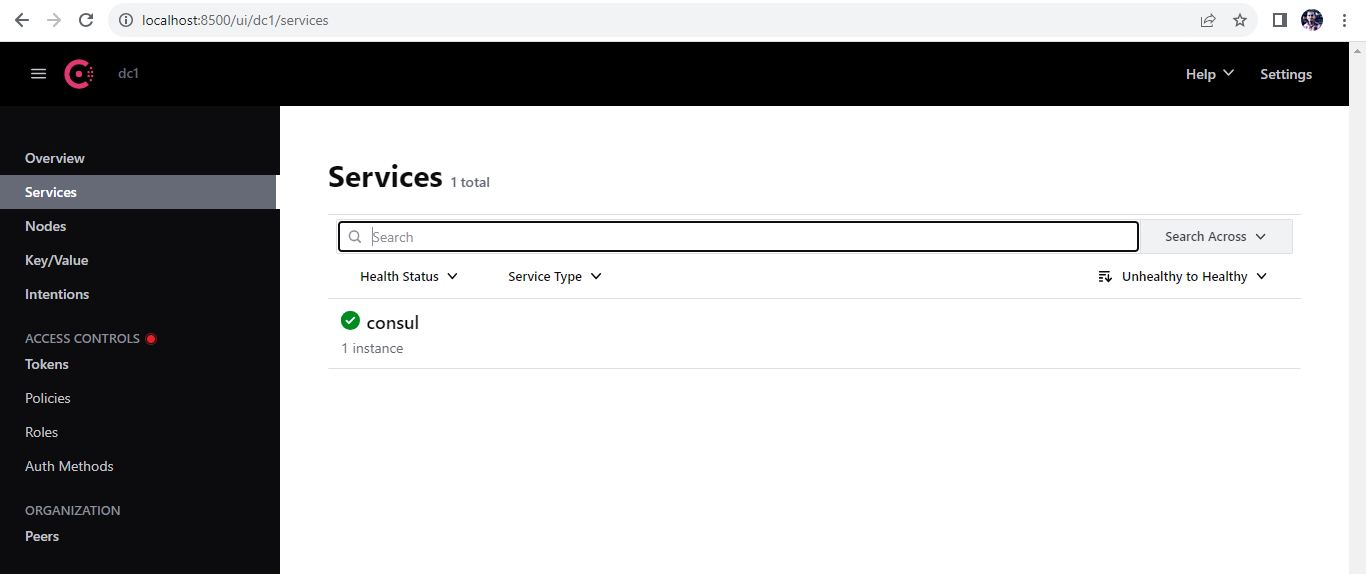
All the services are indentified automatically
Currently activated nodes

Health status of a service eg: Account.
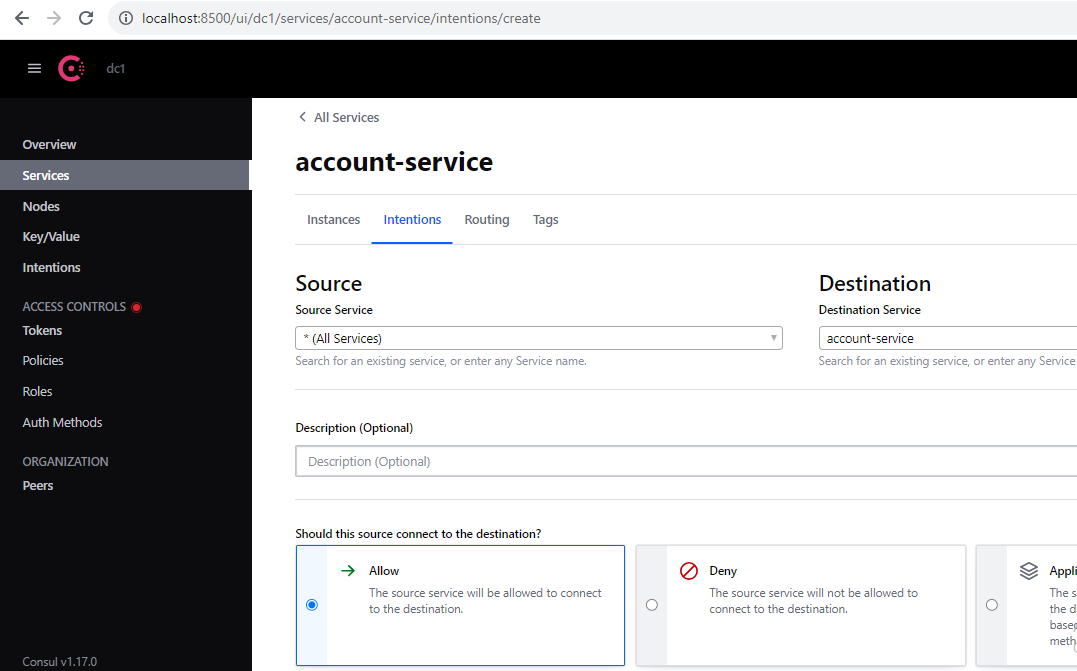
Service Intentions or Rules for communication.
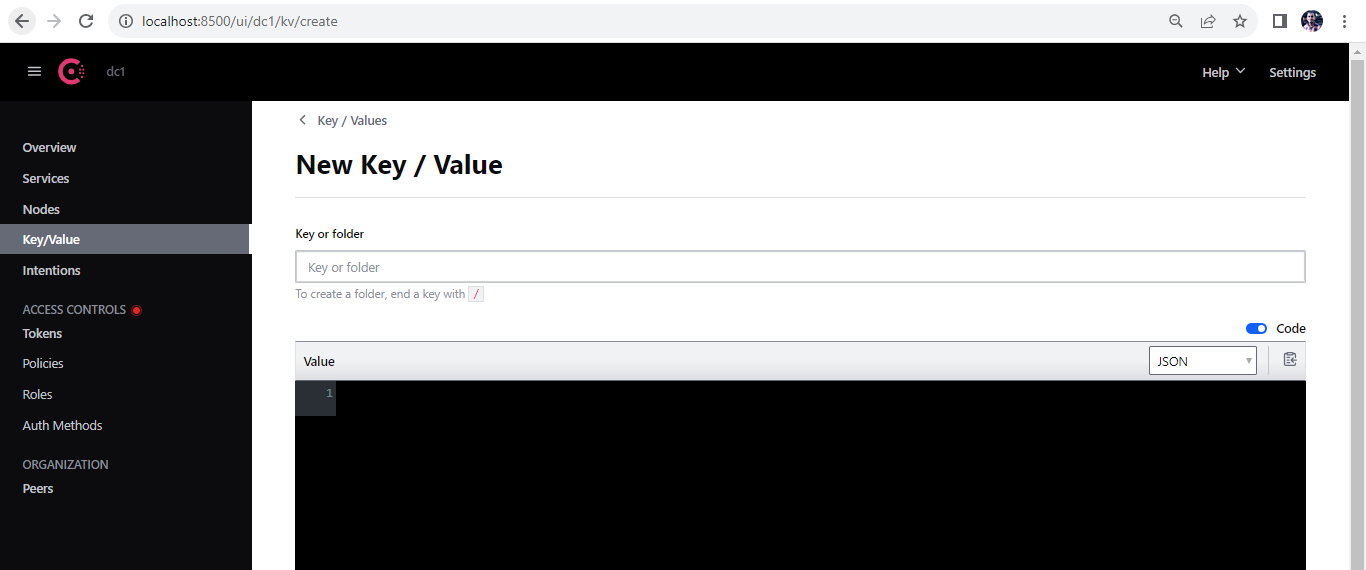
Key and Value for communication and rules. for now, we have not specified anything.